Image Map
Showing posts with label Class decor. Show all posts

Wednesday, September 4, 2013

Math IS Real Life: Curtains!

MATH IS REAL LIFE


Today I'm linking up with 

for Math IS Real Life!

I've posted my classroom reveal and I really love how my classroom looks this year, but I really wanted to make some curtains for my big wall of windows.  I love my windows after being in the dungeon last year, but I wanted to add a homie feel to my room with the addition of some curtains! Here are the windows before the curtains.


  There are a total of 8 windows but there is only a break in the middle of the wall.  I knew that I would need to make 8 individual curtains - one for each window - because I wouldn't be able to to hand one SUPER long curtain.   I went to school and busted out the measuring tape - math use number 1.


 Each window measured 44 1/2 inches wide and since I only wanted the curtains to be half the length of the window, the length ended up being 32 inches.  I added an inch to each side for seam allowances and got 46 1/2 by 34 inches.  I then did a little multiplication.  46 1/2 X 8 and got 372 inches.  Fabric is sold in yards, though so I had to do a little converting. 372 divided by 36 = 10 1/3 yards.  Here is a look at how I did the math.


With my measurements in hand, I headed to Hobby Lobby to find the perfect fabric to match my cute orange, teal, chevron, and owl room.  This is what I found! Perfect teal chevron!!!!


Then I ran into a problem... The bolt was only 10 yards long.  I would need another 1/3 yard but not just a 1/3 by itself.  I sat with the helpful ladies at the cutting counter trying to figure out how to cut two separate pieces of fabric so that I would have enough for the last window in a single piece of fabric.  Instead of using the 46 1/2 measurement, we rounded up to 48 inches or  1 and 1/3 yards since that would give me a couple of inches for gather and and we could get the correct amount of fabric for each of my curtains.  I ended up getting one piece that was 9 and 1/3 yards and a second piece that was 1 and 1/3 yards.


When I got home, I realized that if I wanted the chevron to go horizontally instead of vertically, then I had to change my measurements again!  I cut the fabric into one yard sections (for the length) using my trusty yardstick, and then I had excess across the top for lots of gather!  When I changed the direction I was cutting the fabric, I was actually able to make 10 curtains that each measured about 46 inches wide. I decided that this was a benefit because then I could overlap the curtains on the rod for extra fabric.  


I decided that I didn't really want to sew, so I used iron on hem tape instead.  I ended up standing at the ironing board for a total of 3 hours over the course of the long weekend! And to take the no sew even further, I hot glued pieces of ribbon to the back of each curtain to use to hang the curtains. 


I took all 10 curtains to school to hang on my wall of windows.  I bought 8 adjusting curtain rods to use to hang the curtains.  Since I had no walls to put the rods between, I had to use some command hooks to solve my problems.  


Now the command hooks I needed come in pack of three, but I needed 2 hooks per window.  So 2 packs would cover 3 windows, 4 packs would cover 6 windows, 6 packs would cover 9 windows.  I only needed 16 hooks, but I had to buy the 6th pack to have enough with 2 leftover.  This is going to be a great math problem for my kids next unit!  I finally got all the rods up with the curtains - some overlapping, and this is the final product! The lighting is terrible because the sun is coming through, but they look great! I'm so happy with how they turned out!


How are you using math in your real life?

Friday, August 9, 2013

Classroom Reveal!!!!

I have officially finished an entire week of school!!!  It's only been 7 school days, but we are already off to a WONDERFUL start!  I have a great group of kiddos that have now had Common Core for 2 years.  Let me tell you it makes a world of difference!  Their mathematical thinking is incredible and they are already proving to be great problem solvers! I can't wait to share some of their work with you!

But today, I'm excited to finally show off my classroom!!!!  Now, it's not perfect and there are definitely some things that still need to be worked on, but overall I am very happy with how it turned out!

This is standing at my door looking into the classroom.  You can see I'm missing a ceiling tile by the windows.  I have a wonderful little leak that continues to be an issue for me since we've had pretty regular rain for the past two weeks.  I love my windows!!!!


Right inside my door to the left is my lunch count.  I used little owl stickers on circle punches and wrote the students numbers on them. They have magnets on the back to stick to the filing cabinet.  The lunch calendar for the month is hanging up.  I didn't exactly think about the size of the lunch menu when designing this, but I think it looks cute and it's easy to take a lunch count in the morning.


This is my supply shelf.  I love this utility shelf!  I'd really like to cover it with some of that cute teal chevron contact paper, but that will have to come later.  I'd also like to get some cute bins that all match, but I didn't want to spend the money on that this year... maybe next year!


This is my desk area.  I really love this part of my classroom!  I've made it my mission this year to leave every day with a clean desk.  So far I've been able to do it!  You can also see my little owl labels in the kids' cubbies.  Aren't they cute?  I kinda did a boo boo with  my keep calm and hoot on on the front of my desk, but it works.


This is same area but from the side.  You can see some of my MMI projects in this area.  I love my multiplication numbers hanging on the wall.  They have the multiples of each number up to 10 on the big number.  I'll post more about those later.


This is my library. It's not exactly the prettiest, but since I don't teach literacy, I don't worry about it that much. The bulletin board on the back is going to be my math word wall, for all the vocabulary we learn.  You can buy the labels here.


Above the library is our birthday owl wall.  I've taken pictures of my kids and added them to the owls.  they look so cute now!  I need to take a picture and add it.


This is looking at the whole back wall from the front.  My cubbies are split between two walls; you can see the other half here.


This is the far window wall.  My windows look out to the playground and I love to watch all the kids play at recess.  The drawers on the counter are my math manipulatives.  I love having the drawers covered and labeled.  I've never had them quite this organized. You can also see my team tubs on the desks.  I got those at TJ Maxx for $3 each!  They are the perfect size to hold some markers, glue, pens and erasers for each group!


This is the front wall/board of my room.  This is my second favorite part of my room.  There is so much room and I have a Smartboard!


This is a closeup of the left side of the board.  I list our objectives and the days activities on this side.  You can also see my rules here! I love how they turned out!


Even closer!  I used my Cricut for just about all of this.  It's the Mickey Mouse font.  I love having my date displayed like this, makes changing the date super easy!


This is the right side of the board - the time/schedule section.  I really want to make our schedule cute, but that hasn't happened yet.  Maybe by October break... we'll see.  You can buy the clock labels at my TpT store here.


Well, that's my classroom!  There will always be projects in progress, but I think it's a great place to spend the year!

I'm also linking up with a Class*y Collaboration for their Cruise Around the Classroom.  Go check out everyone's rooms!


I'm adding this post to Teacher Week '13!


Go check out everyone's Classroom Digs!

Monday, July 29, 2013

Monday Made It: Chevron, Chevron, and More Chevron

This is my last Monday before I have students!  It's time for another linky with 4th Grade Frolics. Follow the link to see all of the amazing MMI's!


MMI # 1: Chevron Bulletin Board

Here was my inspiration for this product! Here is the tutorial I followed.

Here is my final board. I'm so excited to hang it in my room!

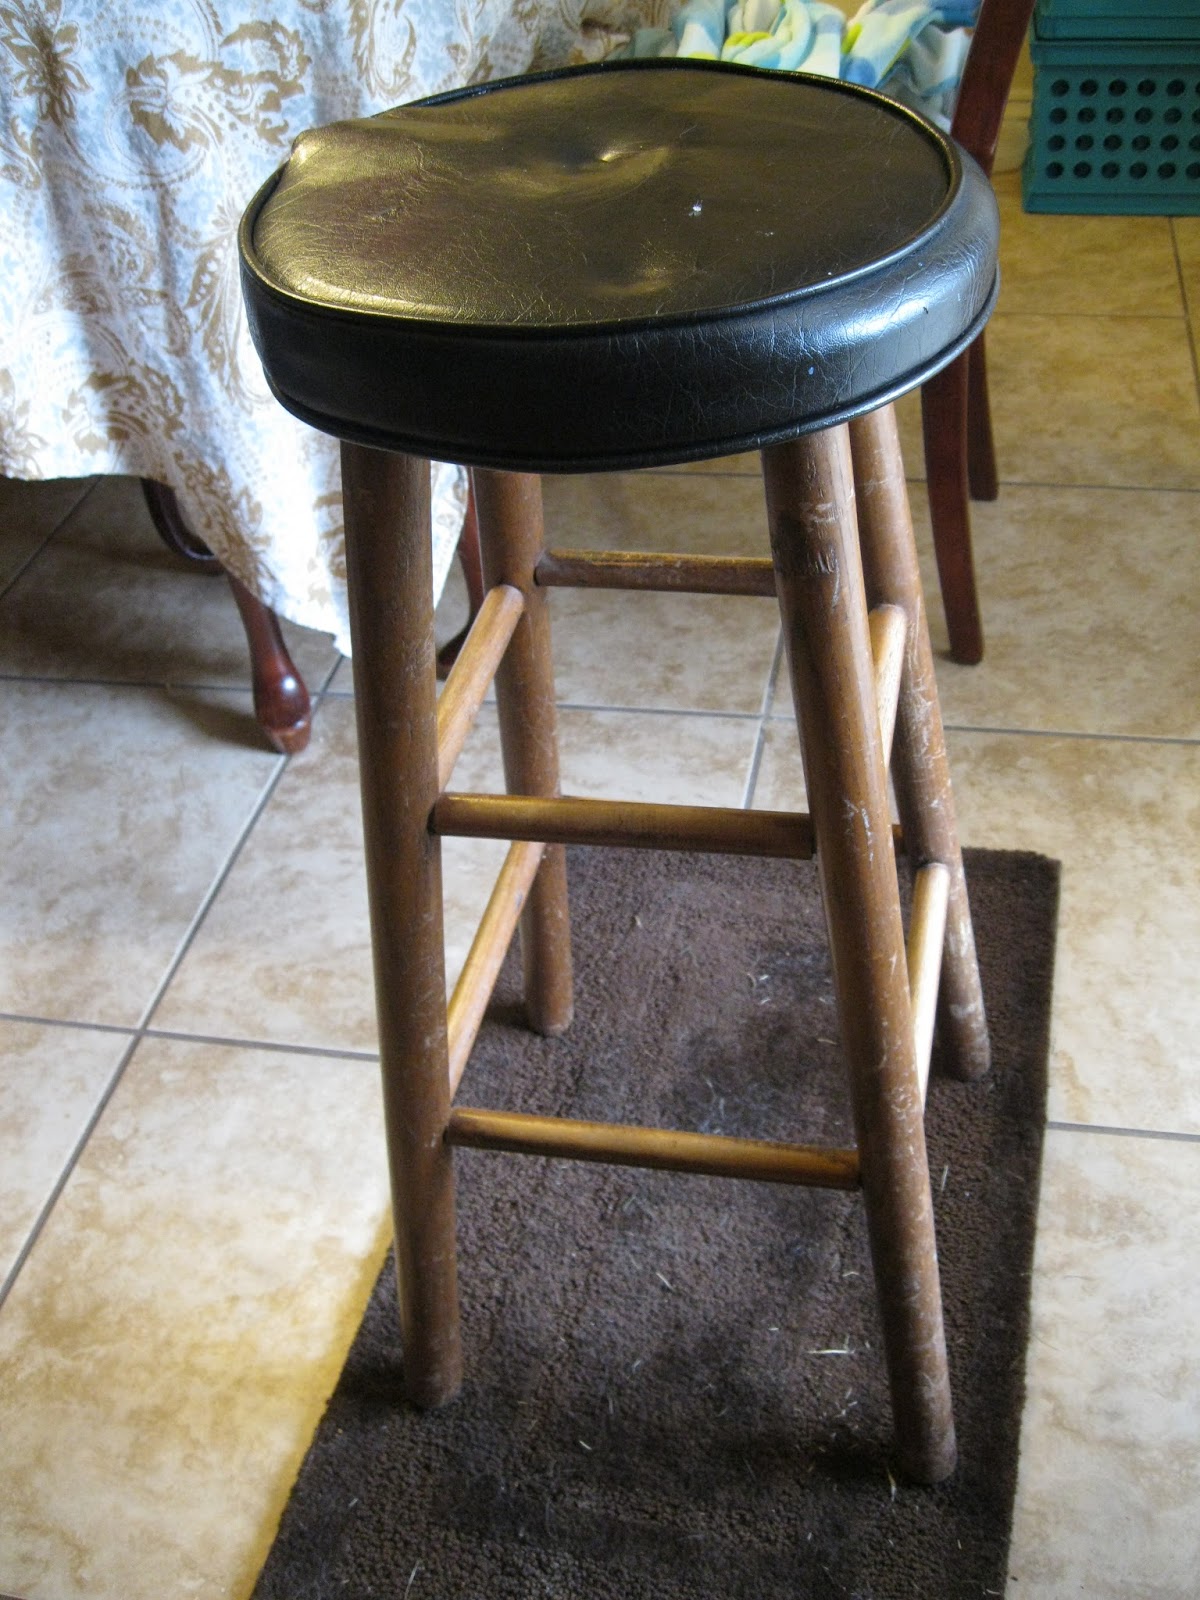
MMI #2: Chevron Stool

This stool was left in my classroom and looked pretty rough.

I got the cute fabric at Joann's and with the help of a little spray paint, it is now a super cute accent to my classroom!


MMI #3

This is my pride of joy of the past week! My class rules! I wanted a few simple rules for my room.  I considered the Whole Brain Rules, but decided they didn't fit my style. 
This is where I got my idea. I found this on Pinterest but the link just goes to the picture. If these rules belong to you, please let me know so I can give you credit!  I liked these rules because they were broad but covered everything at the same time. 
my class rules - simple and to the point

I got some canvases and some paint and got to work!  Here is how they turned out!

 (I can't figure out how to rotate this one)

Here they are hung up in my classroom!  I'm so happy with how they turned out!


Tomorrow is open house and then the kiddos come on Thursday! I'm so excited for this new year!

Related Posts Plugin for WordPress, Blogger...